
We were so fortunate to spend last week's school break in Maui!! We stayed in the Kaanapali area and enjoyed a really wonderful trip for our family. Our stay was made possible with the help of Gigi, and I was inspired by the islands to create this card for her.
I started out with solid colored card stock and printed out a palm tree image from
The Graphics Fairy directly onto the linen color. Next I painted on
Twinkling H2O in Solar Gold to the image and a dark brown "Twink" to the green cardstock base. (The green paper just happened to be handy, you can use any color, as I painted over it.)

These 2 layers were adhered with sticky tape which I added to the front of my white cardstock base. You can see where the green shows through the Twink paint, but it doesn't matter, as it will be covered up.

On the left is the base card colored with Stamping Up's Close to Cocoa. I just applied the stamp pad directly to the card to color it. Again I used sticky tape to adhere the image to the base.
Some close ups of my Gratitude stamp (Hero Arts clear stamp), ribbon, alphabet stamp (Stampin' Up Broadsheet Alphabet), and sea star from Marth Stewarts sand dollar punch.


For the inside I used a flourish Thank You sentiment & corner flower flourish(clear stamps from Inadinkado)~

Because I colored the images on the inside.... the ink showed through on the back!! Ugh! I enhanced (covered up!) the back by using a piece of cream colored cardstock, coloring it with Momento desert sand ink, applying the pad directly to the paper. Then I added the "outside" of the sand dollar punch to the top, to off-set the made-for-you-by stamp placed at the bottom. I tried to keep the ink lighter at the bottom, where I stamped the image in the same color ink, for a subtle effect.


Now you know more that you ever needed to about how I made this card! If you are a beginner or a very enthusiastic card maker, you would really enjoy all of the details, right? :)
Linking to:
The Graphics FairyNaturally Me CreationsLovely Crafty HomeHodgepodge LifeSaturday MorningsPatches of Pink

 I kept a cream background so as not to overwhelm with green. Headed over to the Graphic Fairy for this wonderful image.
 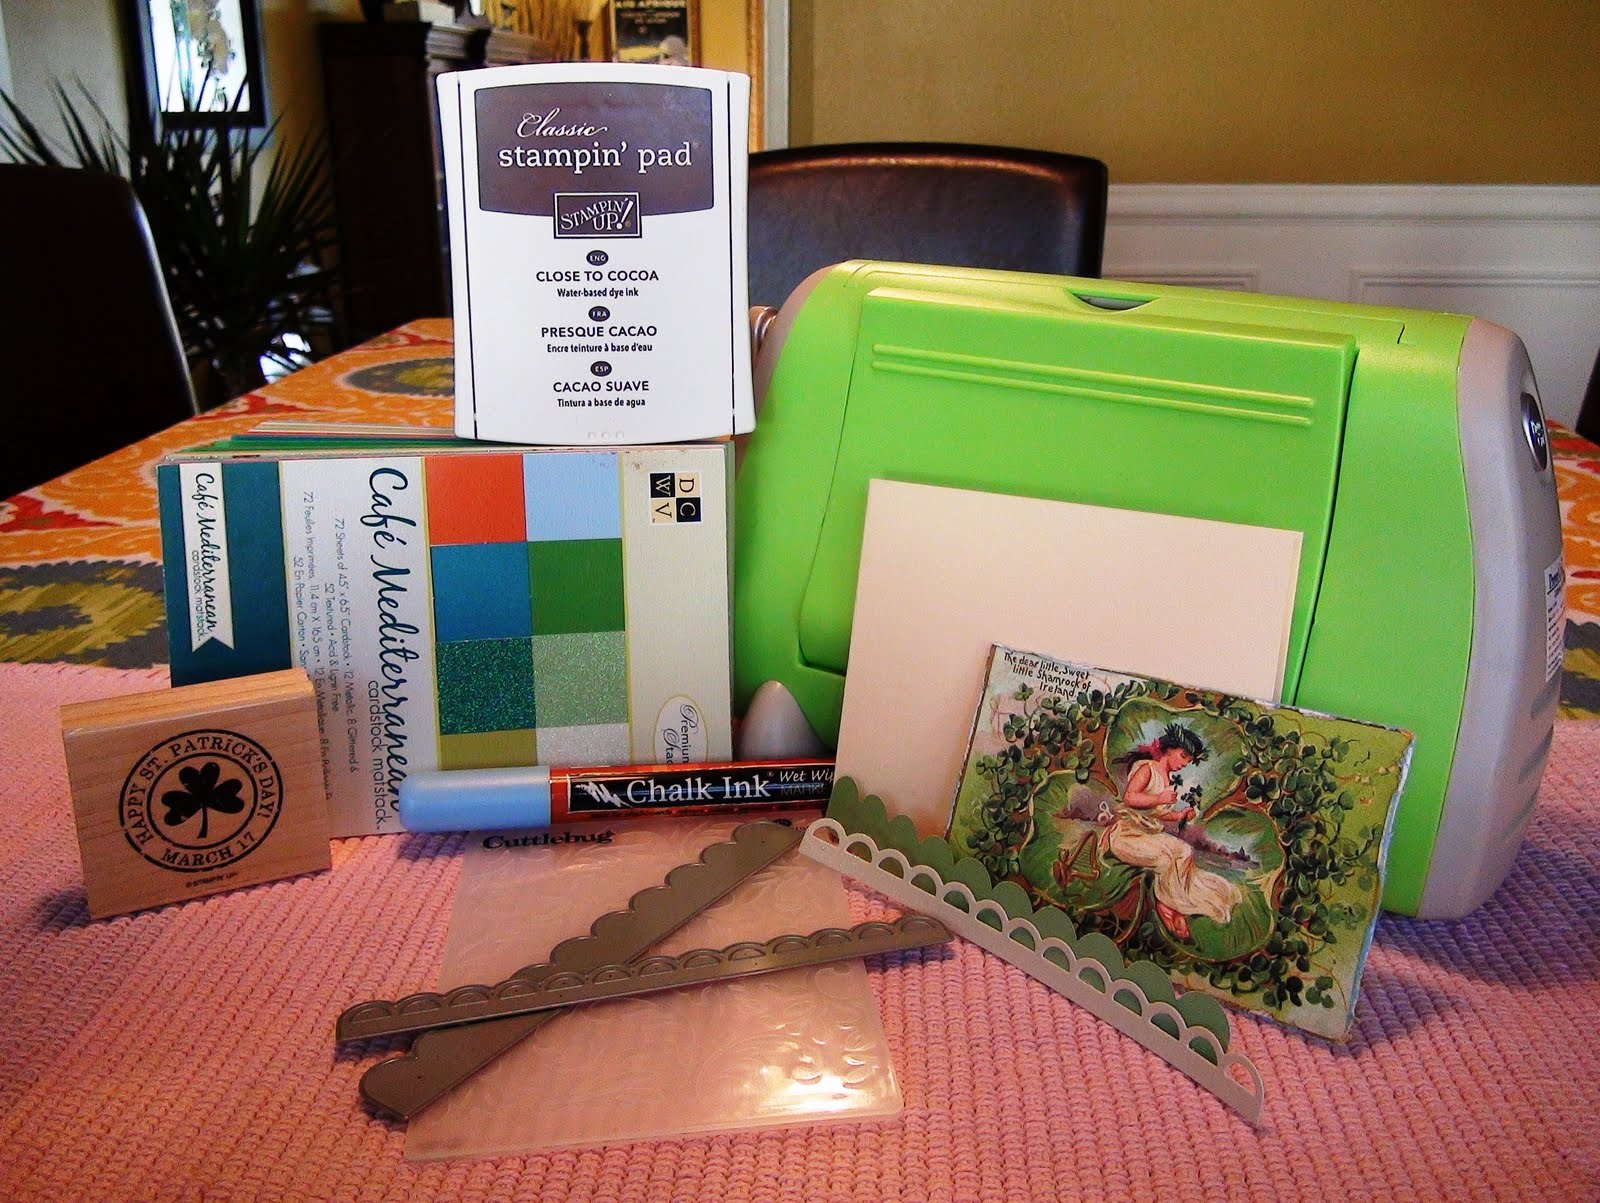 All the usual tools!
 Stamp from Stamping up.


 Enjoy your "green" day, wear some green and don't get pinched!


