Favorite Wilde Quotes

~I never travel without my diary. One should always have something sensational to read on the train.~

~Be yourself; everyone else is already taken.~

~I love talking about nothing. It is the only thing I know
anything about.~

~Oscar Wilde


Welcome!

Welcome!
~~~~~~~~~~~~~~~~~~~~~~~~~

``````````````````````````````````````````````
Showing posts with label ribbon. Show all posts

Wednesday, July 6, 2011

Hey Chica! ~A fun paper piecing card~

Hey Chicas! (Y Chicos!)  I found a card that I remembered to take pictures of, but I forgot to post.  I think that must be due to fear of my blog becoming a "cards only" blog -and that just cannot happen!! It is just that so many of my larger projects are still in my head, you know, in the "fantasizing" "planning" stage.  Also known as not-yet-ready-for-posting stage.  So another card it is!  Do you mind?


Here's a close up of the paper piecing of her hair and ribbon.  I just used liquid glue, like Martha Stewarts glue pen or Stampin Ups 2-way glue pen.  Worked really well to hold her hair down over the ribbon.


Inside I added a tab for fun and a lacy die cut.  And as you can see, I had already written in this by the time I took the picture!


The ribbon, ready for her close up...

Enjoy your day!
~Shelly

Thursday, March 17, 2011

Happy Saint Patricks Day!

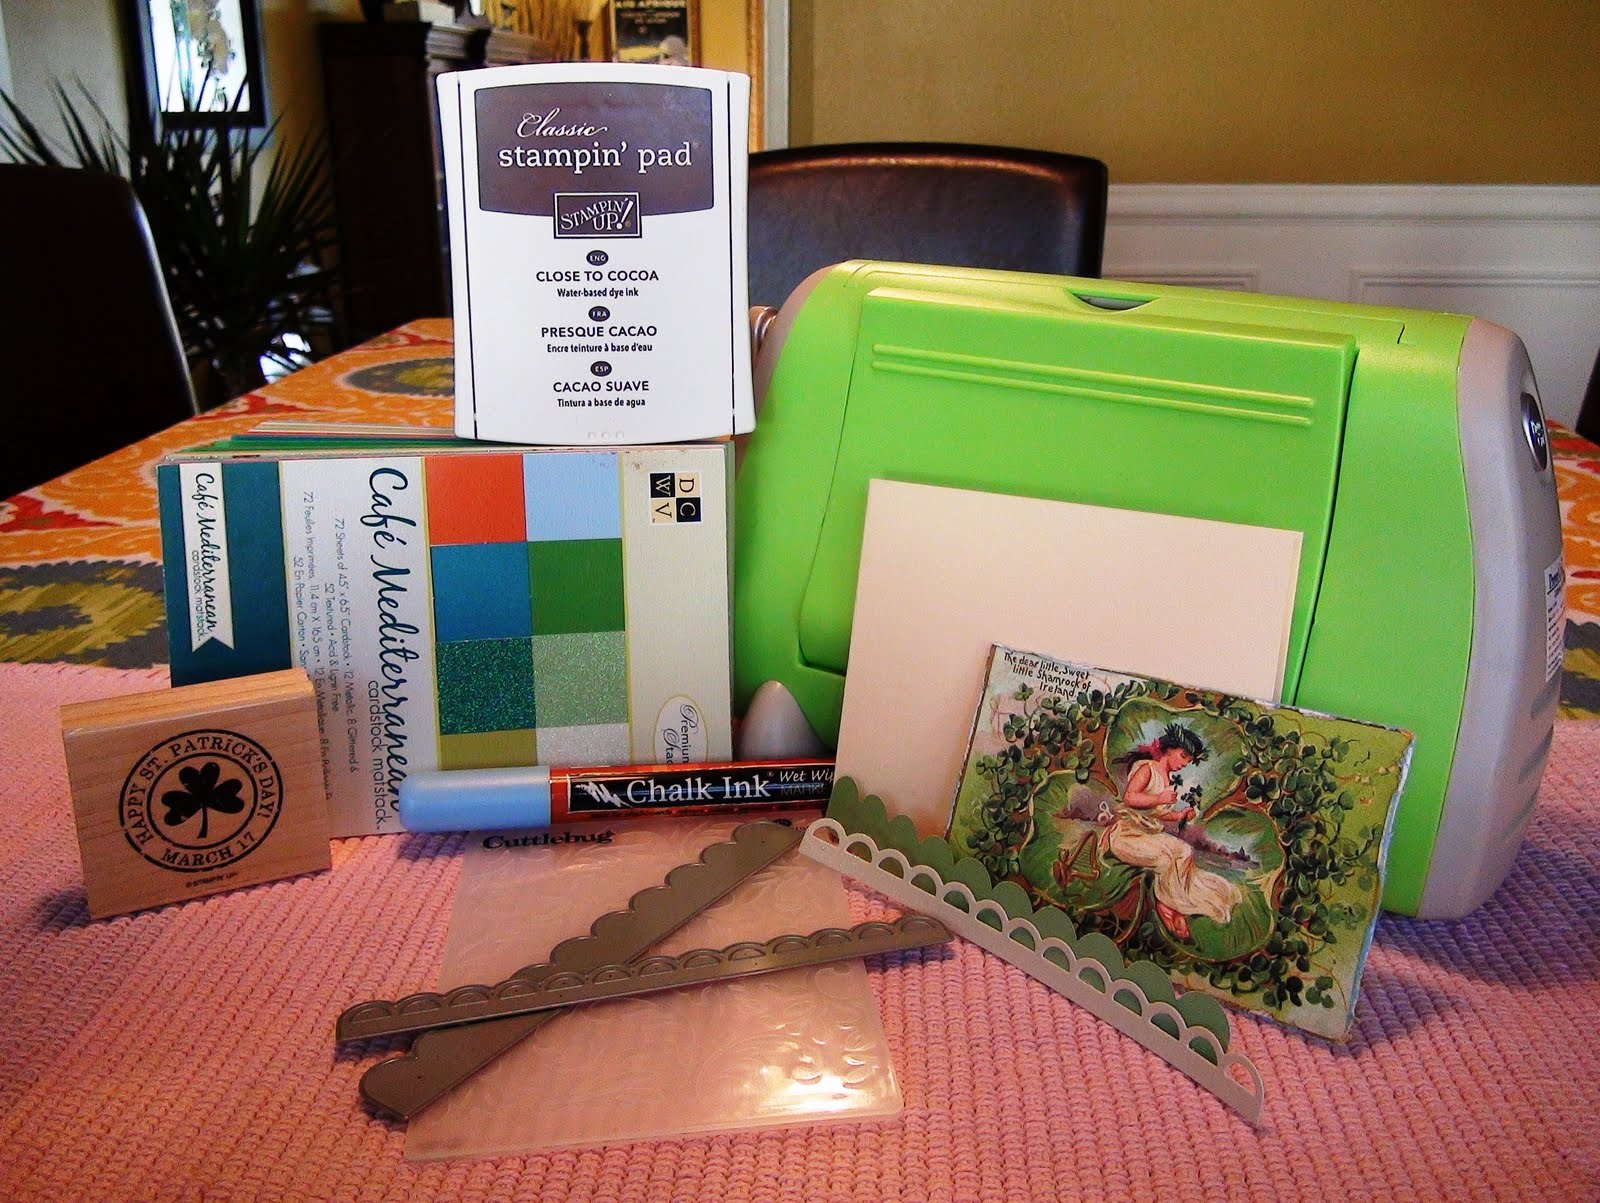
It's the greenest day of the year again, and I've made up a card to celebrate! I am sure I have a bit of Irish in my background somewhere. :)
I kept a cream background so as not to overwhelm with green. Headed over to the Graphic Fairy for this wonderful image.


All the usual tools!


Stamp from Stamping up.


Some of the images I printed out were too big at first. By big, I mean that you have to make your own envelope, as they do not make a standard size to fit my card! What!?! I have to play with more paper? Well, that doesn't seem too bad.... Here's a much simpler version, and it happens to be one of the "big" cards. :)


Enjoy your "green" day, wear some green and don't get pinched!

Linking to:
Free For All Friday
The Answer is Chocolate
Naturally Me Creations

Friday, March 4, 2011

A Hawaiian Thank You


We were so fortunate to spend last week's school break in Maui!! We stayed in the Kaanapali area and enjoyed a really wonderful trip for our family. Our stay was made possible with the help of Gigi, and I was inspired by the islands to create this card for her.

I started out with solid colored card stock and printed out a palm tree image from The Graphics Fairy directly onto the linen color. Next I painted on Twinkling H2O in Solar Gold to the image and a dark brown "Twink" to the green cardstock base. (The green paper just happened to be handy, you can use any color, as I painted over it.)


These 2 layers were adhered with sticky tape which I added to the front of my white cardstock base. You can see where the green shows through the Twink paint, but it doesn't matter, as it will be covered up.


On the left is the base card colored with Stamping Up's Close to Cocoa. I just applied the stamp pad directly to the card to color it. Again I used sticky tape to adhere the image to the base.


Some close ups of my Gratitude stamp (Hero Arts clear stamp), ribbon, alphabet stamp (Stampin' Up Broadsheet Alphabet), and sea star from Marth Stewarts sand dollar punch.


For the inside I used a flourish Thank You sentiment & corner flower flourish(clear stamps from Inadinkado)~


Because I colored the images on the inside.... the ink showed through on the back!! Ugh! I enhanced (covered up!) the back by using a piece of cream colored cardstock, coloring it with Momento desert sand ink, applying the pad directly to the paper. Then I added the "outside" of the sand dollar punch to the top, to off-set the made-for-you-by stamp placed at the bottom. I tried to keep the ink lighter at the bottom, where I stamped the image in the same color ink, for a subtle effect.


Now you know more that you ever needed to about how I made this card! If you are a beginner or a very enthusiastic card maker, you would really enjoy all of the details, right? :)

Linking to:
The Graphics Fairy
Naturally Me Creations
Lovely Crafty Home
Hodgepodge Life
Saturday Mornings
Patches of Pink

Thursday, December 9, 2010

Holiday Gift Tag, Twinkling H2o's and Ribbon!

This is a simple gift tag where I got to do 2 of my favorite things -color/paint and add ribbon! The corners are rounded on the bottom layer and the image size I used is 1 3/4" x 4 1/2 " -I think I printed about 4 per page. The edges on both layers are distressed by using a dab of water on your finger, and running it along the edges until you get the desired effect. And the ribbon is wrapped around both layers and adhered at the back along the edges with a tiny bit of sticky tape.


For both layers of the tag, I used an Ivory cardstock. (Wausau paper, 67 lb., acid free.) I ran this image from The Graphics Fairy through my inkjet printer directly onto the paper.


I cut the background out from an 8 1/2 x 11 page of Ivory that I had randomly painted, using LuminArte Twinkling H2O's. Colors: Mustard Green, Sunburst & Garnet. (I did not paint the image.)


A little bit of glue to hold them together...


An eyelet, some dazzling ribbon and a string harvested from some burlap... (Don't worry if you do not have an eyelet handy.)


And you have yourself a gift tag!

Linking to:
The Graphics Fairy -Brag Monday :)

LinkWithin

Related Posts Plugin for WordPress, Blogger...