
Hello everyone~
I am taking a short break from posting... as we are having some family things to sort out. I will be back soon. :)


 I kept a cream background so as not to overwhelm with green. Headed over to the Graphic Fairy for this wonderful image.
 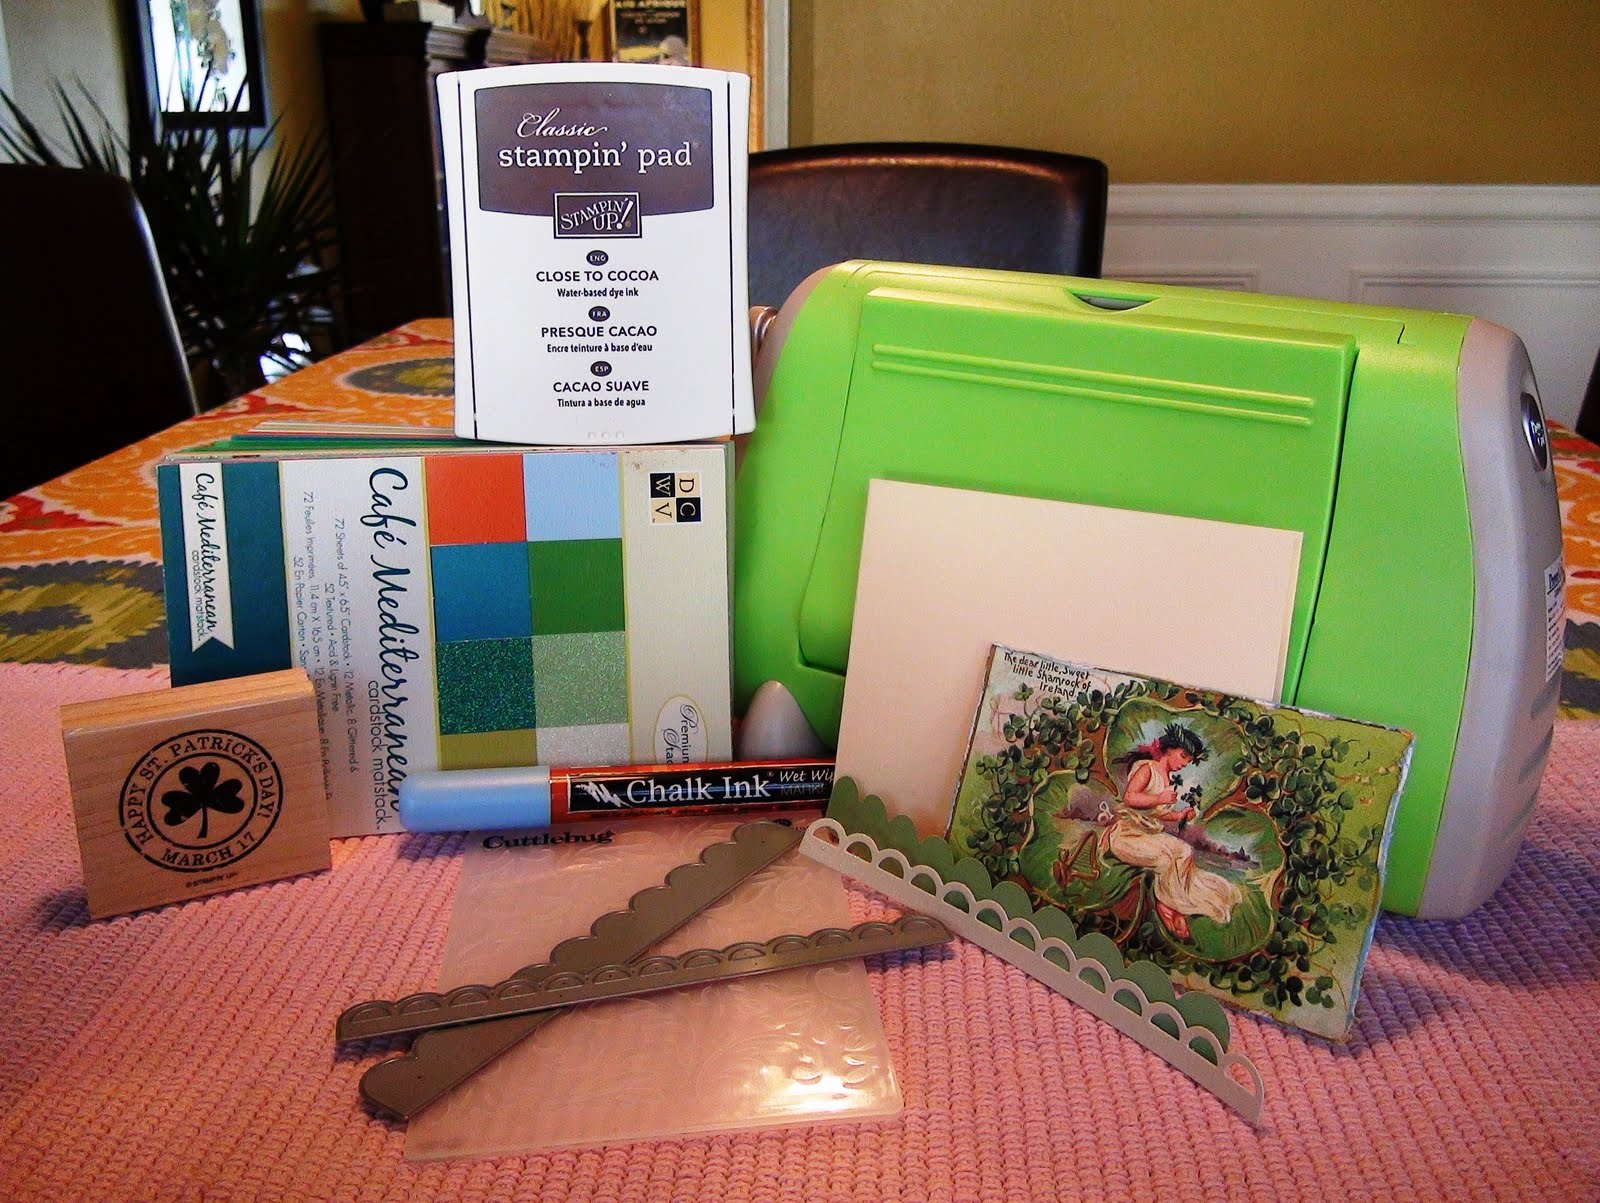 All the usual tools!
 Stamp from Stamping up.


 Enjoy your "green" day, wear some green and don't get pinched!
 The saying and hat lady stamps are inked in 2 different colors, although it looks like the same color... hmmmm.... The front/back are glued together with Stamin' Up's 2-way glue pen, it works really well for this step. I rounded the corners to discourage them from peeling apart, distressed the edges and inked them with Rangers Spiced Marmalade. To add the ribbon at the bottom, I used the Xyron mini sticker machine. I have not yet found a glue that does not show through on ribbons.
 This is a close up of the back where I used VersaMark ink to stamp my hat wearing lady in an all-over pattern. The ink shows up just slightlty darker than the paper, if you look closely, you can see her. I then ran the paper through an embossing folder, and applied ink directly from the stamp to the raised areas before adhering it to the front. Lastly, blinging it up a bit with Stickles glitter glue. I just had to add some sparkle to this spunky gal!
 ~~~~~~~~~~~~~~~~~~Isn't she cute and sassy?

 These 2 layers were adhered with sticky tape which I added to the front of my white cardstock base. You can see where the green shows through the Twink paint, but it doesn't matter, as it will be covered up.
 On the left is the base card colored with Stamping Up's Close to Cocoa. I just applied the stamp pad directly to the card to color it. Again I used sticky tape to adhere the image to the base.


 I keep this 2013 link here because there is so much beautiful and creative artwork to enjoy.


